Your dog sees the nail clippers. Instant panic. They run. You chase. Someone's getting scratched, and it's probably you.
Most dogs hate nail trimming because it feels strange, or because they've had a bad experience before. With patience, treats, and gradual desensitisation, you can teach your dog to tolerate it, and most get to the point of barely noticing.
This takes time. There's no shortcut. But it works.
Why nail trimming is the hardest grooming task
A few reasons this is harder than it should be. Bad experiences stick, so one accidental cut into the quick and your dog remembers it for months. Having their paws held and pressure put on their nails feels unnatural, which is why most dogs resist even before anything hurts. Owners tend to rush it, trying to get all ten nails done in one sitting, and the dog panics halfway through. Dogs also read your anxiety. If you're tense about cutting the quick, your dog picks up on that before you've touched a nail. And the tools don't help. Clippers make a sharp snapping sound, electric files buzz against the paw, and either one can be enough to trigger a bolt for the door.
Why nail trimming matters
Overgrown nails change how your dog walks. They put pressure on the joints, curl into the paw pads, and eventually split or bleed on their own. On hard floors you'll hear it before you see it, a dog with nails too long clicks with every step.
Regular short trims fix this two ways. The obvious one is comfort. The less obvious one is the quick itself, the blood vessel inside the nail, recedes a little further back each time you trim just the tip. Cut a couple of millimetres every two to four weeks and the quick moves with it, which means less nail to trim and less risk each time you do it.
There's no magic equipment. Clippers versus electric files comes down to what your dog tolerates. Clippers are quicker. A lot of dogs hate the noise an electric file makes, others find it less alarming than the snap of clippers. Try both if you can.
Small wins count more than a perfect trim
This is about going slow and stacking positive experiences, not getting it done fast.
Your goals: get one nail done without a fight, not ten in record time. Stop your dog panicking at the sight of the clippers. Reach the point where you can hand them to a groomer without a scene.
Every calm session shrinks the anxiety a bit further. Every rushed one adds it back. Don't move to the next step until your dog is genuinely relaxed at the current one, not just tolerating it. Some dogs get through all eight steps below in a few days. Others take a few weeks. Both are normal.
What you'll need
Nail clippers or an electric file, try both if you can. High-value treats, frozen lickable treats or lean chicken breast work well, and you'll need plenty, so keep the pieces small. Dry pasta, for getting your dog used to the clipper sound before you go anywhere near their paw.
This can't be rushed. Plan on multiple short sessions over days or weeks rather than one long one, and do them somewhere calm.
We're not big treat users at The Toe Beans Co, they're often overused elsewhere, but this is the exception. Good old-fashioned bribery works here. Keep pieces small and low-calorie, make them worth the effort, and skip cheese unless it's cut into tiny pieces.
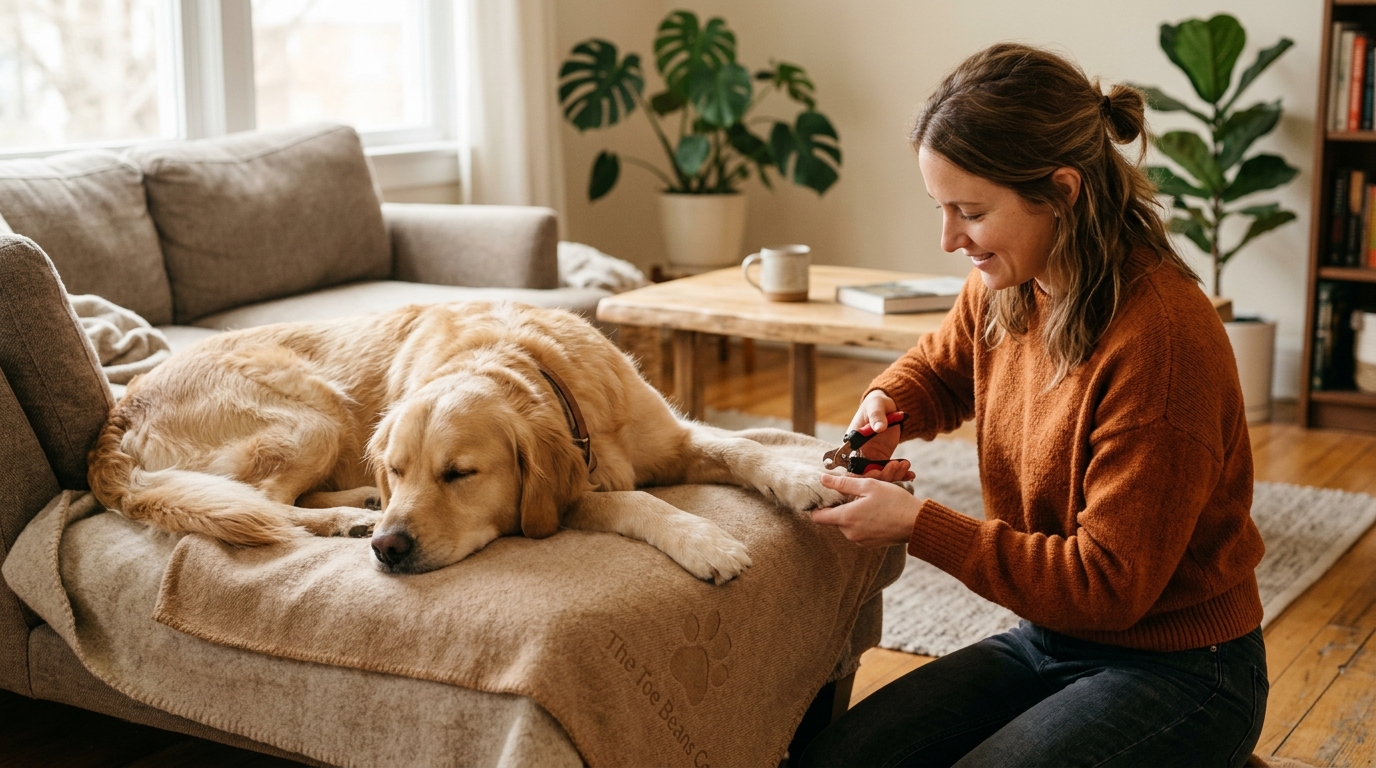
The 8-step conditioning process
Step 1: gentle paw handling
When your dog is calm, gently stroke down their leg toward the paw. Stop when you reach their threshold point, the moment they start looking tense. Touch lightly there for 1 to 2 seconds while feeding treats continuously. Repeat until your dog looks to you expectantly for a treat when touched, then gradually extend how long and how far down the leg you go over several sessions. The goal is a dog that stays relaxed when you handle their legs.
Step 2: reach for the paw
Hold a treat at your dog's nose and gently reach for their paw. If they pull away, reach less far next time. Practise short, calm touches several times, rewarding after each one.
Step 3: lift and hold the paw
Once your dog is comfortable being touched, lift the paw a few inches off the ground for 1 to 2 seconds. Don't lean over your dog or lift too high. Reward immediately after lowering the paw, then gradually add duration and light pressure, the way you would to hold the paw for trimming.
Step 4: hold and handle the toes
Move on to gently holding individual toes for a moment, rewarding calm behaviour each time.
Step 5: introduce the nail clippers
Before trimming anything, get your dog used to the tool itself. Put the clippers nearby and let your dog investigate, rewarding calm interest. Bring them closer over several sessions while pairing with treats. Clip dry pasta so your dog hears the sound without anything touching them, and reward after each clip.
Step 6: touch with the trimmer, no cutting
Hold your dog's paw and touch the nail with the trimmer without cutting anything.
Step 7: grasp the nail, still no cut
Reward after each calm repetition. Keep going until your dog stays relaxed with every nail gently grasped.
Step 8: trim the nail
Trim a small amount, just the tip, don't get ahead of yourself. Use a high-value treat like chicken straight after. Trim one or a few nails per session if that's what your dog needs, and end on a positive note rather than pushing for more. Build up how many nails you can do as your dog's confidence grows.
If you cut the quick
It happens, even carefully. If you nick the quick, the nail will bleed, sometimes more than you'd expect. Stay calm, your dog takes their cue from you. Apply gentle pressure with a clean cloth for a minute or two. Styptic powder stops the bleeding fast if you've got it in the kit, press a small amount straight onto the tip.
One bad cut doesn't undo the work. Go back a step or two the next session rather than straight back to clipping, and let your dog rebuild confidence before you trim again.
Get ongoing support
Inside the community, you'll get:
- Weekly live Q&A sessions where you can ask about your dog's specific nail trimming challenges
- Full training courses with video demonstrations of each conditioning step
- A community of owners working through the same grooming challenges
- Troubleshooting help when your dog isn't progressing the way this guide describes
It's free, no subscription required.
If you're Sydney-based, we also run in-person sessions where we work directly with you and your dog on grooming tolerance, as part of our wider training work. Ask about availability in the community.
Join The Toe Beans Co community for the support to get through stress-free nail trims.